
Getting Your Wafer Temps Right Without Burning Everything Down
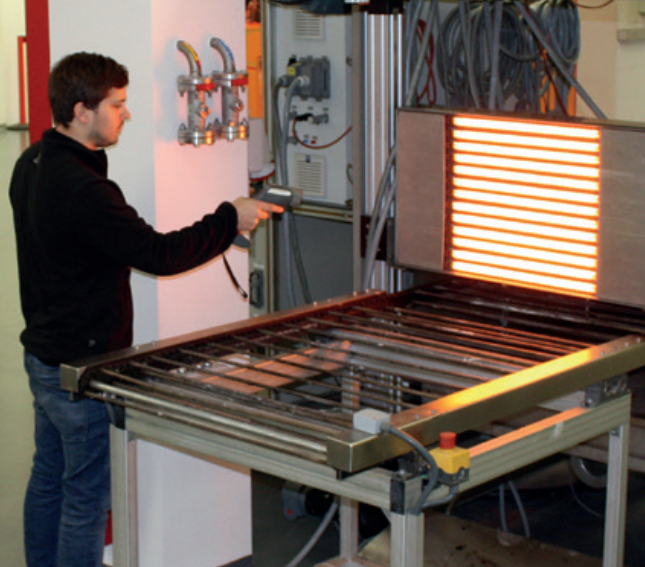
If you’ve ever worked on bio-sensor fabrication, you know the struggle. You’re trying to hit a very specific temperature on the wafer surface, but you’re terrified of overheating the substrate. It’s a tightrope walk. To get it right, we use infrared lamps paired with gold-coated reflectors. The logic is simple: stop wasting power and push every single photon exactly where it needs to go. Why bother with gold? Most people start with aluminum reflectors, but the problem is they soak up too much energy. Gold is different. It handles long-wave IR radiation way better, bouncing it straight back toward the wafer. It’s not about making the equipment look fancy. It’s about a tighter thermal footprint. When you focus the energy like this, you can hit those high peak temperatures you need while actually pulling less power from the wall. Dealing with heat density When you’re picking out your lamps, energy density is the big one. Because the gold coating concentrates the heat, your ramp-up times during curing or bonding happen a lot faster. But here’s the catch: your geometry has to be spot on. If the reflector is slightly off, you get hot spots. And in this business, a hot spot is a nightmare—it’ll throw off your sensor calibration and ruin the whole batch. The parts they don’t tell you about High-reflectivity systems are great at pushing heat, but they’re also great at trapping it. Since that gold coating is bouncing so much energy around, the lamp housing can get scorching hot if your airflow is lazy. Don’t just trust the theoretical wattage on the spec sheet. Make sure your cooling fans can actually handle the real-world thermal load. If you skimp on the cooling, you’re just going to burn out the lamp ends. Oh, and do yourself a favor: use high-temp leads. There’s nothing worse than seeing your insulation melt right at the edge of the reflector because you used standard wiring.